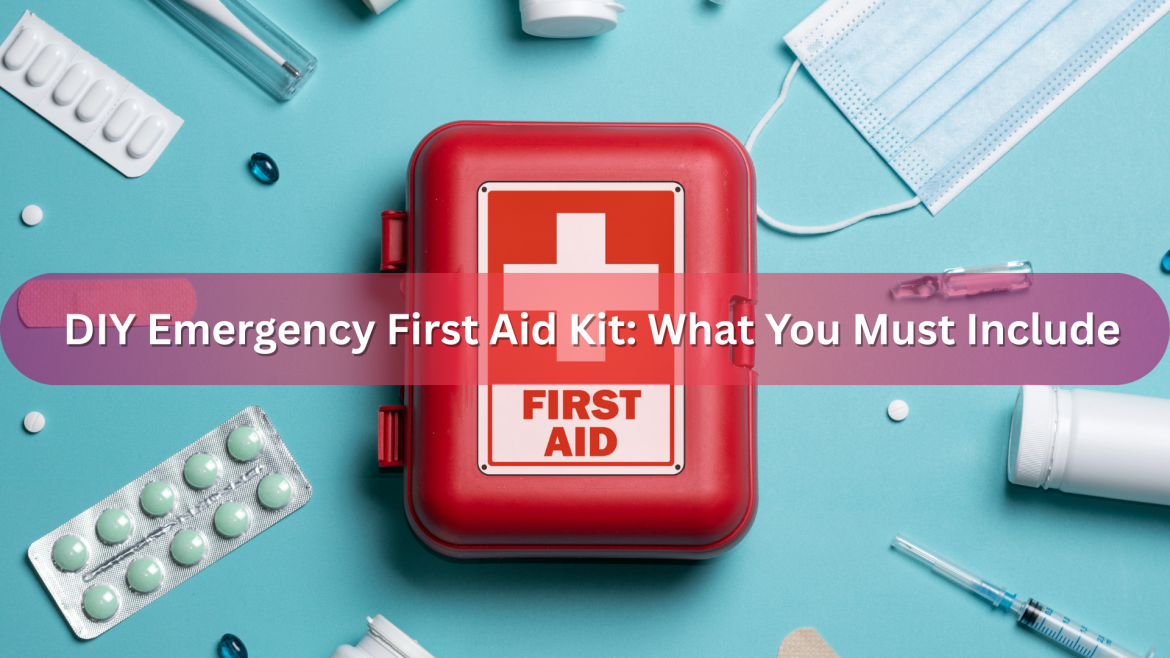
DIY Emergency First Aid Kit: What You Must Include
When disaster strikes—whether you’re trekking through the wilderness or facing an unexpected crisis at home—a DIY emergency first aid kit can be your lifeline. Unlike store-bought kits that often include low-quality fillers or miss critical items, building your own ensures it’s packed with exactly what you need.
At Survival Siren, we’re here to walk you through crafting a kit that’s tailored, reliable, and ready for anything. Let’s dive into the must-haves, smart extras, and pro tips to make your kit a survival game-changer.
Why Build Your Own First Aid Kit?
A DIY first aid kit isn’t just about supplies—it’s about control and confidence. Here’s why it beats pre-made options hands down:
- Custom Fit: Tailor it to your skills, environment, and specific risks—think urban outages or backcountry adventures.
- Quality Over Filler: Skip the cheap junk and pack only high-quality, essential gear.
- Know Your Tools: Building it yourself means you’re familiar with every item and how to use it when time’s ticking.
- Peace of Mind: A kit you trust gives you the edge in any emergency.
This isn’t just a kit—it’s your personalized survival plan.
1. Core Medical Supplies
These are the backbone of your kit—items to stop bleeding, treat wounds, and manage injuries fast.
Wound Care
- Sterile Gauze Pads (Various Sizes): Cover cuts, burns, or scrapes. Tip: Pack extras—wounds eat through these.
- Adhesive Bandages (Assorted Sizes): Quick fixes for minor injuries. Pro Hack: Include knuckle and fingertip bandages for awkward spots.
- Medical Tape: Secures gauze or splints. Upgrade: Waterproof tape holds up in wet conditions.
- Antiseptic Wipes & Triple Antibiotic Ointment: Clean wounds and prevent infection. Note: Alcohol pads are fast-drying but harsh—choose wisely.
- Cotton Swabs: Apply ointment or clean tight spaces. Bonus: Use as fire tinder in a survival pinch.
Bleeding Control
- Tourniquet (CAT or SOFTT): Stops severe bleeding in seconds. Key Skill: Practice one-handed application.
- Hemostatic Gauze or Powder (e.g., QuikClot): Clots blood in deep wounds. Caution: For uncontrollable bleeds only.
- Israeli Pressure Bandage: Combines gauze and compression. Why It Works: Built-in pressure pad saves time.
- Nitrile Gloves: Keep things sterile and safe. Tip: Pack multiple pairs—emergencies get messy.
Injury Management
- SAM Splint or Malleable Splint: Stabilizes breaks or sprains. Versatility: Shapes to any body part.
- Elastic Bandages (ACE Wraps): Compress swelling or secure splints. Hack: Double as gear ties if needed.
- Cold Packs (Instant, Chemical–Activated): Ease swelling and pain. DIY Option: Wet cloth in a pinch.
- Tweezers & Safety Pins: Pull splinters or fasten dressings. Pro Choice: Blunt-tip tweezers for safety.
- Trauma Shears: Cut clothing or tape fast. Why They’re Essential: Blunt tips prevent accidental injury.
2. Medications and Relief Aids
Pain, allergies, or sickness can escalate a crisis. Stock these to stay in control:
- Pain Relievers (Ibuprofen, Acetaminophen): Reduce pain and fever. Heads–Up: Know proper doses—overuse hurts.
- Antihistamines (Benadryl): Tackle allergies or bites. Extra Use: Can aid sleep in tough spots.
- Anti–Diarrheals (Imodium): Prevent dehydration. Warning: Skip if there’s blood—get help instead.
- Antacids (Tums or Pepto–Bismol): Soothe stomach upset. Tip: Chewables save space.
- Electrolyte Tablets or ORS Packets: Rehydrate fast after illness or heat. Survival Boost: Mix with water for energy.
- Hydrocortisone Cream: Calm rashes or bites. Natural Swap: Aloe vera for burns.
- Eye Drops (Lubricating or Saline): Flush debris or soothe eyes. Critical: A must in dust or smoke.
3. Emergency Tools
These aren’t extras—they’re clutch in dire moments:
- CPR Face Shield or Mask: Safe resuscitation without risk. Why It Matters: Protects you and them.
- Thermometer (Digital or Strip–Type): Monitor fever or hypothermia. Compact Pick: Forehead strips are tiny.
- First Aid Manual or Cheat Sheet: Quick guidance under pressure. DIY Hack: Laminate it for toughness.
- Emergency Blanket (Mylar): Trap heat or signal rescuers. Bonus: Reflects light for fire-starting.
- Waterproof Notepad & Pencil: Track vitals or leave notes. Why Pencil?: Works wet when pens fail.
- Headlamp or Mini Flashlight (with Spare Batteries): Hands-free light in the dark. Pro Tip: Red mode saves night vision.
4. Survival–Specific Additions
These turn your kit into a survival MVP, especially off-grid:
- Burn Gel Packets: Cool burns fast. Natural Alt: Honey for minor burns.
- Sting & Bite Relief Wipes: Ease pain and swelling. Wild Fix: Crushed plantain leaves if you’re out.
- Water Purification Tablets: Make dirty water drinkable. Backup: Boil if you can.
- Duct Tape (Mini Roll): Fix gear, splint, or seal wounds. Survival Staple: Endless uses.
- Safety Whistle: Three blasts signal SOS. Advantage: Louder than shouting.
- Emergency Contact & Medical Info Card: List allergies and contacts. Smart Move: Laminate for durability.
5. Kit Storage and Organization
A disorganized kit wastes time. Keep it tight with these tips:
- Waterproof Case: Red for visibility, tough for wear. Alt: Dry bags work too.
- Sort by Category: Trauma, meds, tools—use zip-locks or dividers.
- Label Clearly: Sharpie on tape or printed labels speed things up.
- Stay Lean: Essentials only—bulk slows you down.
Tip: A fishing tackle box keeps it modular and grab-ready.
6. Customize Based on Environment
Match your kit to your world—here’s how:
Wilderness
- Snake Bite Kit: Suction tool and guide. Note: Know the limits—controversial but useful.
- Blister Care: Moleskin or gel pads for long treks.
- Fire Starter: Waterproof matches or ferro rod for heat and signals.
Urban
- Mask & Gloves: For pandemics or dust. Add–On: Hand sanitizer.
- Small Multitool: Fix or escape in tight spots.
- Cash & ID: Small bills and copies for emergencies.
Vehicle
- Trauma Shears: Cut seatbelts or fabric fast.
- Road Flares: Warn traffic or signal help.
- Rain Poncho: Stay dry fixing flats.
Pro Tip: Stash a mini kit in your glove box—crises don’t wait.
Frequently Asked Questions (FAQs)
1. How often should I check my DIY first aid kit?
Every 6 months—swap expired meds, restock, and refamiliarize yourself.
2. Can I carry prescription meds in my kit?
Yes, if they’re yours. Keep them labeled and rotate to stay fresh.
3. Is a DIY kit better than a store–bought one?
100%—it’s tailored, thorough, and built on gear you trust.
Conclusion
A DIY emergency first aid kit is more than supplies—it’s your shield against chaos, built to fit your life. With the right essentials, smart organization, and a touch of customization, you’re ready to face any crisis head-on.
At Survival Siren, we’re all about empowering you to take charge of your preparedness. Build your kit today and step into survival with confidence.
🩹 Got your own kit? Share your go–to items in the comments below!


